
DIY
For the Love of Fashion: Valentine’s Day DIY
By |
February. It's the month of love and chocolates and flowers and such. And hearts. So many hearts. As you can see from my last post, I wanted to get into the spirit of things so I whipped up this Valentine's Day DIY. I documented the process so that you too can get your DIY on.

What you'll need:
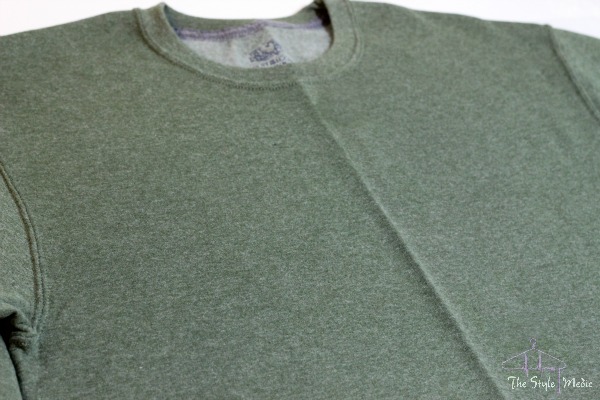
- Shirt of your choice: I didn’t want the look to be too girly or scream Valentine’s Day so I went with an olive/army green sweatshirt
- Glitter Acrylic Craft Paint: I chose the color ‘Garnet’ because it wasn't too bright and I liked the contrast with the army green, but choose whatever color works for you
- Acrylic medium: This helps the acrylic paint go on smoothly and dry without making your fabric stiff
-
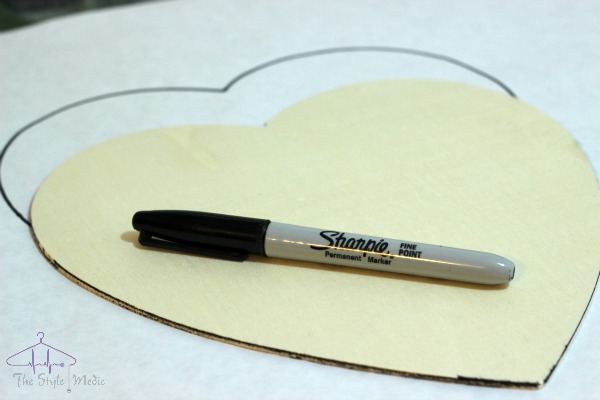
Heart template: You can draw one yourself, print one out or you can be
lazysmart like me and buy one - Cardboard (or something to stop the paint from soaking into the shirt)
- Freezer Paper: You'll use this to create your stencil
- Scissors
- Paintbrush
- Iron
What you'll do:
-
Find and mark the center of your shirt. You can either measure and mark with a marking pen/chalk or you can simply fold the shirt in half and press it.
- Put your cardboard inside your shirt to keep the paint from seeping through to the other side. Make sure that the cardboard is wider than the area you’re going to paint.
-
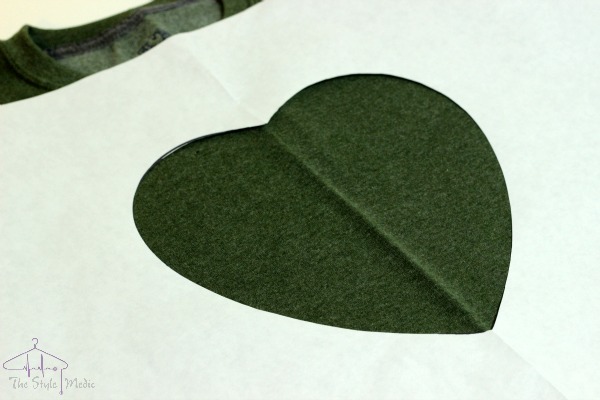
Trace your heart shape onto the freezer paper and cut it out.
-
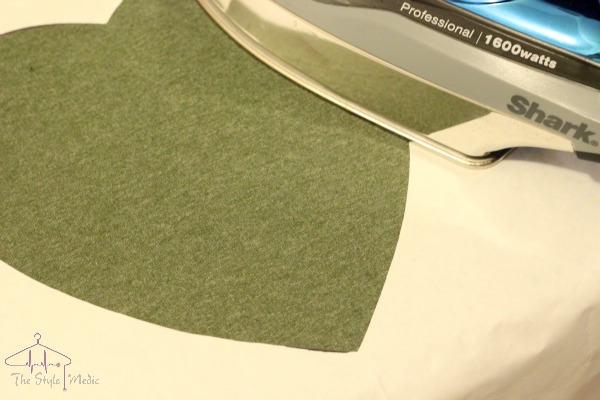
Using your center marking as a guide, decide where you want to place the heart on your shirt, then press the stencil SHINY SIDE DOWN (this is the side with the wax) onto the shirt with a hot iron. Make sure you really get the edges so that the paint doesn’t bleed under.
-
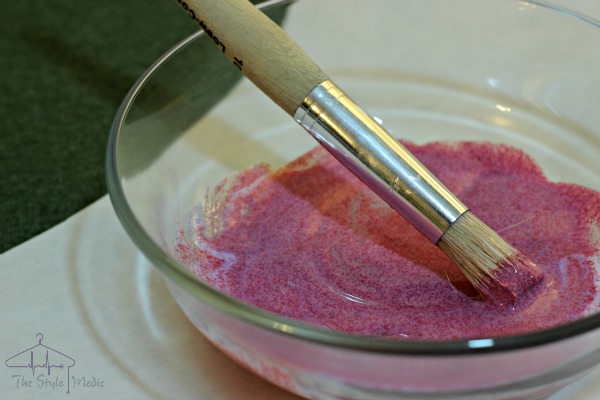
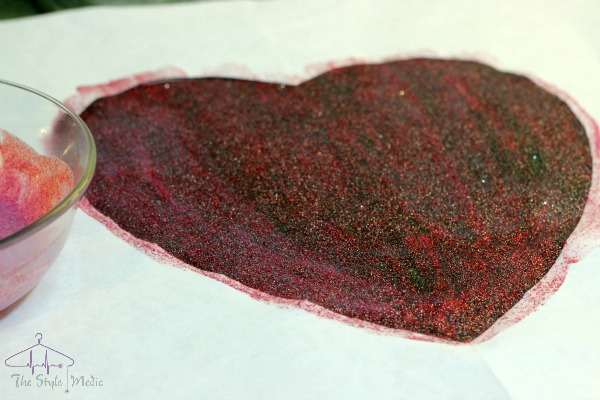
Start painting! It was hard to get the color I wanted with just the glitter since it's basically clear paint with red glitter in it. Next time, I'll use color under the glitter for a more even finish. Also, the acrylic medium extends the dry time.
-
Once it’s completely dry (I let mine sit for about 24 hours), you want to heat set it so that it doesn’t come off in the wash. To do this, use a clean, dry cloth (like a dishtowel or old t-shirt) over the front of the design and iron it for 2 -5 minutes. Don’t use the steam.

Here’s the finished product styled up all pretty and such. I love how it’s a little girly and a little gangsta…just like me.
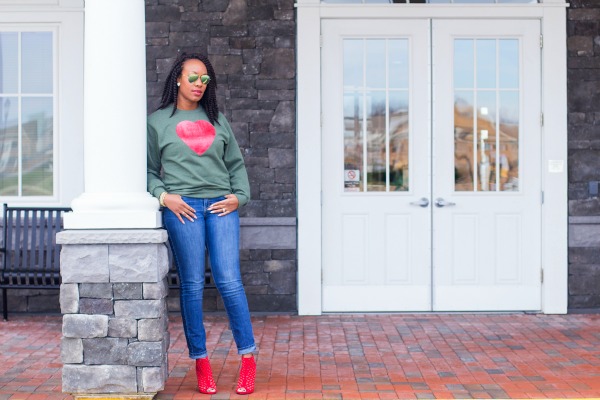
Altogether, this DIY cost me about $15 and I'm super pleased with how it turned out.
My girl MimiCuteLips got in on the fun too! Click the pic to check out her DIY lip shirt!

What say you? Are you ready to DIY some Valentine’s Day fashion?


Mimi "MimiCuteLips@ Green
at
We do good work, I swear we do. I love the contrast of army green and red. I too am girly and gangsta.
Siobhan (BeFree Project)
at
You girls are so cute, I love the DIY sweat shirts. Super cute and creative.
Siobhan
http://www.befreeproject.com
Stacie
at
I love how easy you made this look. I think could pull this off. Cute and festive!
Holly
at
You are always great at these DIY projects. Very cute. Looked really easy.
Jamila
at
I’m loving that green top, now I wanna make one lol
Jamila recently posted…7 Ways To Spend The Day Self Pampering On Valentine’s Day…
Carin Kilby Clark
at
That's such a cute DIY project! I love the color combination too. My daughter will love this.
Carin Kilby Clark recently posted…Enter For Your Chance To Win A $200 Old Navy Gift Card! (Ends 3/2/16)
Ariel
at
I *love* this! I'm a sweatshirt-and-sneakers mom so this is right up my alley. Thanks for the tutorial.
valerie robinson
at
I so want to try this! Wish me luck lol!
Christine @MomsNCharge
at
Super cayute! I'm gonna ask you the same question: what happened to my invite? LOL Actually, I'll just come and grab this sweatshirt cause we wear the same size 😉
Nicole
at
I'm loving these DIY design ideas. Never really been crafty to do it myself, but you got me considering it.
Pingback: DIY Valentine's MimiCuteLIPS Shirt - MimiCuteLips